Introduction to 2D Animation
Some of the best games in video game history have been 2D: Early Final Fantasy titles; The Legend of Zelda: A Link to the Past; Castlevania, and more. It’s only natural that you would want to take part in this legendary and beloved gaming tradition. And now you can!
With the help of Unity’s 2D animation package, you can become part of the tradition that game developers created decades ago.
Setting Up and Importing Assets
This is where your creative juices start flowing. Take a sprite that you’ve created, no matter what it is, and import it into Unity. You will have to go to Assets, then ‘Import Package’. Choose the package you want to import and install your sprites.
Some Projects to Try
Build Your 2D Skeleton
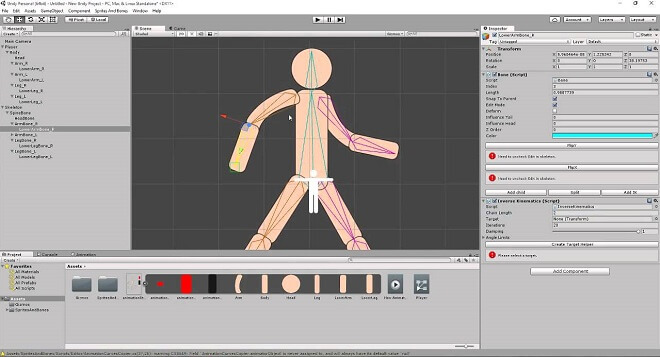
As expected, when building from the ground up, you need to develop a skeletal framework for your assets and characters. Access the Sprite Editor, where all the magic happens. Find this through the Inspect window.
Starting the Skeleton with Root Bone Placement and More
You can then choose ‘Bone Editor’ from the menu. Root Bone placement begins the process of giving your sprite or asset some skeletal structure.
Click on the ‘Create Bone’ tool, and then click on anywhere on your asset or character. This starts the process of building the skeletal. This is the root bone. From here, the rest of the skeleton will be created.
This is where you can choose what bone placement is optimal for what your design purposes are. It is recommended that you place it in a good spot like the hip or a little outside the mesh to edit the placement better.
More Bone Tools to Experiment With
After you familiarize yourself with bone placement, explore the rest of the bone tools at your disposal. Some useful tools are:
- Free Bone: this gives you the freedom to experiment with creating a bone not connected to the root bone. This is good for when your asset or sprite is divided up. We will use the ‘move’ tool, later on, to use what bones we’ve created with the free bone tool to complete our sprite.
- Split: this splits the existing bone into two equal parts
- Parent: this connects two bones together
- Move: This moves the selected bone to your desired location.
Animation Layers
Terminology
Animation layers are different layers you use to edit parts of your animation without affecting various aspects of the animation. For example, if you wanted to edit the root bone of a sprite, but didn’t want to mess up the sprite’s weapon placement, you would put them on different animation layers.
Animation Layer syncing
This is when you take all of the different layers in your animation, the different editable parts, and synch them into a playable animation. This is a culmination of your hard work.
2D Platformer Character Controller
Movement
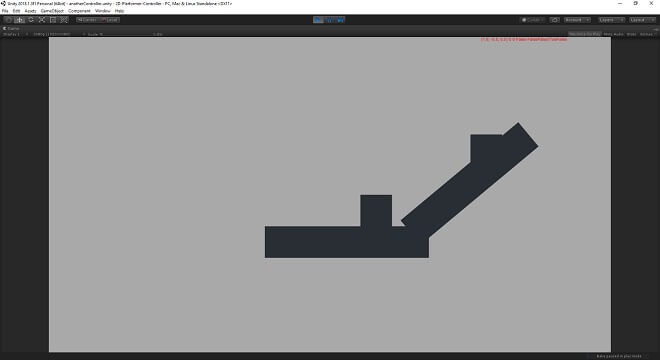
A massive part of Unity 2D animation is utilizing the movement of the 2D character. You can fully customize the 2D character’s actions, or you can let Unity physics decide for you.
You can fully capitalize on this movement with a Unity 2d character controller.
Collision
What happens if your creation moves well, but keeps crashing through walls? Even though this is a game, we’d like it to obey the laws of physics!
With collision, you need to add detection to your Unity 2D character controller. Unity has some fantastic resources for just this occasion.
Jumping
The simple way of programming, whether a character is jumping, is by first determining when the character is grounded. This allows you to control when your character jumps when gravity should pull them back down.
Tutorials
How Do I Make An Animator Controller in Unity?
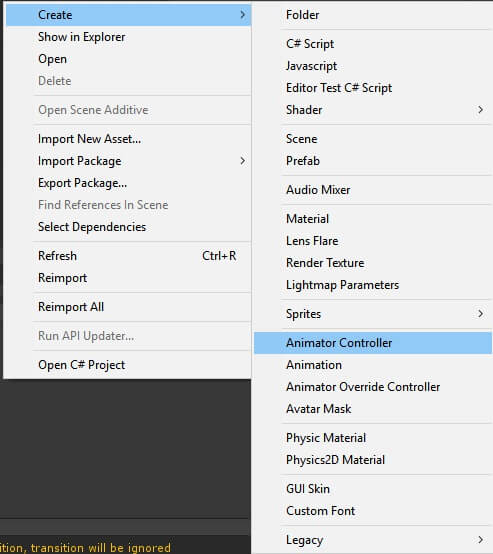
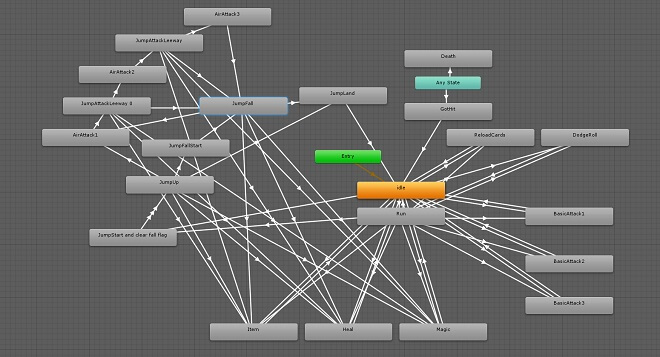
An animation controller in Unity is not a traditional controller that you’d use to game with. Instead, it’s a way to control the animation functions for the 3D (or, in this case, 2D) animations.
You can accomplish this in several ways to do this.
- Go to your Project view, and select ‘Create > Animator Controller.’
- Right-click on the Project View, and click ‘Create > Animator Controller.’
- Go right to the Assets menu, and click ‘Assets > Create > Animator Controller.’
After choosing your method of creating an animator controller in Unity, you will have created the .controller asset. The controller contains a few widgets, like the even parameters and animation layer.
Time to Use Your New Animator Controller
Once you have an animation controller mapped out, it’s time to get to business and start using it, along with triggers, within Unity. To do this, go to the drop-down menu and choose ‘trigger.’
Triggers are the things that make the actual transitions between animations happen.
How to Map Controls for Any Controller
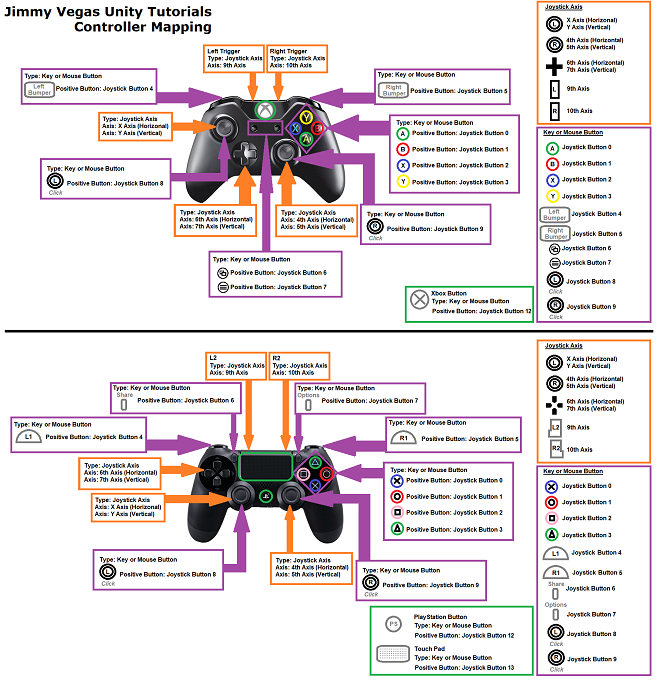
The usual controllers to use are Xbox and PS4 controllers. Unity already has a standard controller mapping option that should work pretty well. Here is a diagram to give you a better idea as to what corresponds to what.


